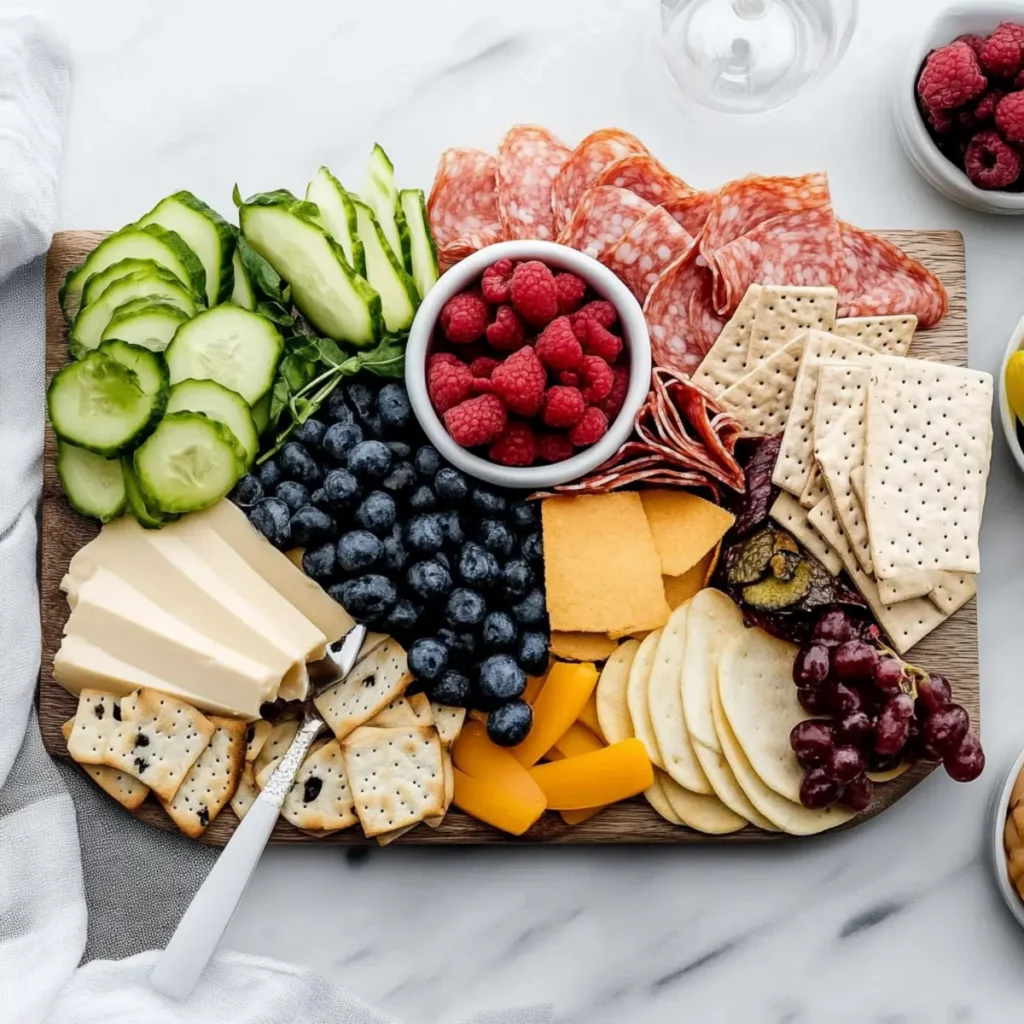
There’s something incredibly satisfying about creating a Quick Snack Board that looks as good as it tastes. Imagine a vibrant assortment of delectable meats, cheeses, crunchy veggies, and sweet treats all beautifully arranged. The aroma of the savory meats mingling with the fresh scent of fruits and herbs is enough to make anyone’s mouth water in anticipation. This is not just a charcuterie board; it’s a feast for the senses, perfect for any occasion.
If you’ve ever found yourself scrambling to impress guests or looking for a quick snack that doesn’t involve a microwave meal, this is your answer. It conjures up memories of joyful gatherings and laughter, with everyone sinking their teeth into delightful bites. Whip this up for a cozy movie night, an elegant brunch, or, let’s be honest, any time you want a little tasty indulgence without the fuss of cooking.
Why You'll Love This Quick Snack Board
- This incredible Quick Snack Board transforms simple everyday ingredients into restaurant-quality flavors that will blow your mind completely.
- Foolproof recipe techniques guarantee perfect results every single time, making even novice cooks feel like professional chefs instantly.
- Stunning visual appeal with gorgeous colors and mouthwatering aromas creates the ultimate Instagram-worthy dish for any special occasion.
- Endlessly adaptable for different dietary needs while working beautifully for meal prep, date nights, or entertaining large groups effortlessly.
Ingredients for Quick Snack Board
Here’s what you’ll need to make this delicious Quick Snack Board:
8 oz. deli turkey or ham – Choose your favorite sliced deli meat, ensuring it’s fresh and flavorful to mix with the other elements.
4 oz. salami – Opt for a nice variety like Genoa or pepperoni to add an extra zing to your board.
8 oz. hard cheese – Sharp cheddar or aged gouda works beautifully here; those bold flavors will make your taste buds rejoice.
Carrot sticks – Prepare these crunchy treats to add vibrant color and a satisfying crunch.
Cucumber slices – These refreshing bites will lighten up the board and balance out the richness of the cheese and meats.
Fresh berries – Strawberries, raspberries, or blueberries not only provide sweetness but also make your board pop visually.
Crackers – A medley of different textures and flavors will enhance the overall experience; think crispy or herbed.
Hummus or ranch – This will serve as the perfect dip for both your veggies and crackers, adding a creamy element to the mix.
Olives – These briny beauties add a salty punch that contrasts wonderfully with the other ingredients.
Almonds or other nuts – Toss in your favorite nuts for a protein boost and unexpected crunch.
Dark chocolate – A few pieces of rich chocolate will satisfy that sweet tooth; balance is key on this board.
How to Make Quick Snack Board
Follow these simple steps to prepare this delicious Quick Snack Board:
Step 1: Gather your materials
Collect a large cutting board or a serving platter to create your masterpiece. A visually appealing base sets the stage for all those delicious ingredients you are about to lay down.
Step 2: Arrange the meats
Start by placing your deli turkey or ham and salami on the board. Fold slices creatively or roll them up for an eye-catching touch. Imagine that tantalizing mix of flavors coming together.
Step 3: Add the cheese
Next, cut your cheese into wedges or cubes and arrange them nearby. Go ahead and serve yourself a sample—you know quality control is key here!
Step 4: Create colorful veggie sections
Position the carrot sticks and cucumber slices around the meats and cheese for a refreshing crunch. The vibrant hues of the veggies will contrast beautifully with the yellows and browns of the other ingredients.
Step 5: Scatter the fruits
Now, let’s bring in the berries. Scatter them around the board, as if you’re throwing confetti at a party. These beauties not only taste great but also provide pops of color that make your board irresistible.
Step 6: Finish with dips and add-ins
Lastly, tuck small bowls of hummus or ranch onto the board. Then sprinkle almonds, nuts, and a few dark chocolate pieces where there’s a little space left. Trust me; your guests will love the sweet surprise!
Now you’ll have a stunning Quick Snack Board ready in just about 10 minutes. The combination of flavors, textures, and colors will not only make your taste buds sing but will also have everyone reaching for seconds—maybe even thirds! So, gather your favorite people (or enjoy it solo) and dig into this delicious, effortless spread.

This showstopping Quick Snack Board delivers restaurant-quality results using simple ingredients you probably already have at home. The perfect balance of textures and flavors creates an unforgettable dining experience that will have everyone asking for seconds. Picture-perfect presentation with vibrant colors makes this dish absolutely Instagram-worthy and guaranteed to impress any dinner guest. Incredibly versatile recipe that works beautifully for weeknight dinners, meal prep, special occasions, or even outdoor entertaining sessions.
Perfecting Quick Snack Board Cooking Process
To achieve the best results, start by arranging larger items like cheese and meats, then fill in gaps with colorful veggies and fruits. Finally, add your dips and nuts for a stunning, balanced display.
Add Your Touch to Quick Snack Board
Feel free to mix and match ingredients based on your preferences. Swap out turkey for prosciutto, use different cheeses, or experiment with seasonal fruits to personalize your board.
Storing & Reheating Quick Snack Board
Store leftovers in an airtight container in the fridge for up to three days. For optimal texture, avoid reheating; instead, enjoy cold flavors as they are or serve them fresh to maintain crispness.
Chef's Helpful Tips for Quick Snack Board
- This professional-quality Quick Snack Board relies on precise timing and temperature control to achieve restaurant-standard results consistently.
- Master the art of mise en place by prepping all ingredients beforehand, ensuring smooth execution and preventing any last-minute cooking disasters.
- The secret lies in layering flavors throughout the cooking process rather than seasoning only at the end for maximum depth.
- Pro tip: let the finished dish rest for optimal texture and flavor development before serving to hungry guests waiting eagerly.
There’s nothing quite like the moment when friends or family gather around a beautifully arranged snack board, laughing and reminiscing over good food. I once made one for a game night, and the compliments were flowing faster than the soda!

FAQs About Quick Snack Board
What is Quick Snack Board?
A Quick Snack Board is a beautifully arranged platter of various snacks, perfect for sharing at gatherings or for a quick meal at home. Made with an assortment of meats, cheeses, fruits, veggies, and dips, this board is customizable based on your preferences. It takes only 10 minutes to assemble, making it ideal for busy days. Whether you’re hosting a party or enjoying a cozy night in, a Quick Snack Board brings people together over delicious, visually appealing food.
What can I include in my Quick Snack Board?
Your Quick Snack Board can be as creative as you want! Popular items include deli meats like turkey or ham, an array of cheeses such as sharp cheddar and gouda, colorful vegetables like carrot sticks and cucumber slices, and seasonal fruits. Dips like hummus or ranch add flavor, while crackers and nuts provide crunch. For a touch of sweetness, dark chocolate or fresh berries can make the board irresistible. Mix and match based on your tastes!
How do I make my Quick Snack Board visually appealing?
To create a stunning Quick Snack Board, start by arranging larger items, such as cheese wedges and slices of meat, in a visually balanced manner. Use a variety of colors and shapes; vibrant vegetables and fruits can bring life to the board. Consider adding small bowls of dips and scattering nuts and chocolate around for elegance. A well-organized board not only looks impressive but also invites guests to dig in!
How should I store leftovers from my Quick Snack Board?
Leftovers from your Quick Snack Board can be stored conveniently in an airtight container in the fridge for up to three days. To maintain freshness and texture, avoid reheating; instead, enjoy the flavors cold. If you want to keep the board’s original appeal, serve the leftover snacks fresh as they were initially arranged. This way, you can enjoy the delightful tastes without losing their charm!
Conclusion for Quick Snack Board
In conclusion, the Quick Snack Board is an easy and impressive way to entertain or satisfy hunger at home. With its vibrant assortment of flavors and textures, it creates a memorable experience for you and your guests. By personalizing the ingredients and investing minimal time in preparation, you can craft an inviting display that caters to various tastes. This Quick Snack Board not only keeps things simple but also elevates any occasion with deliciousness and style.
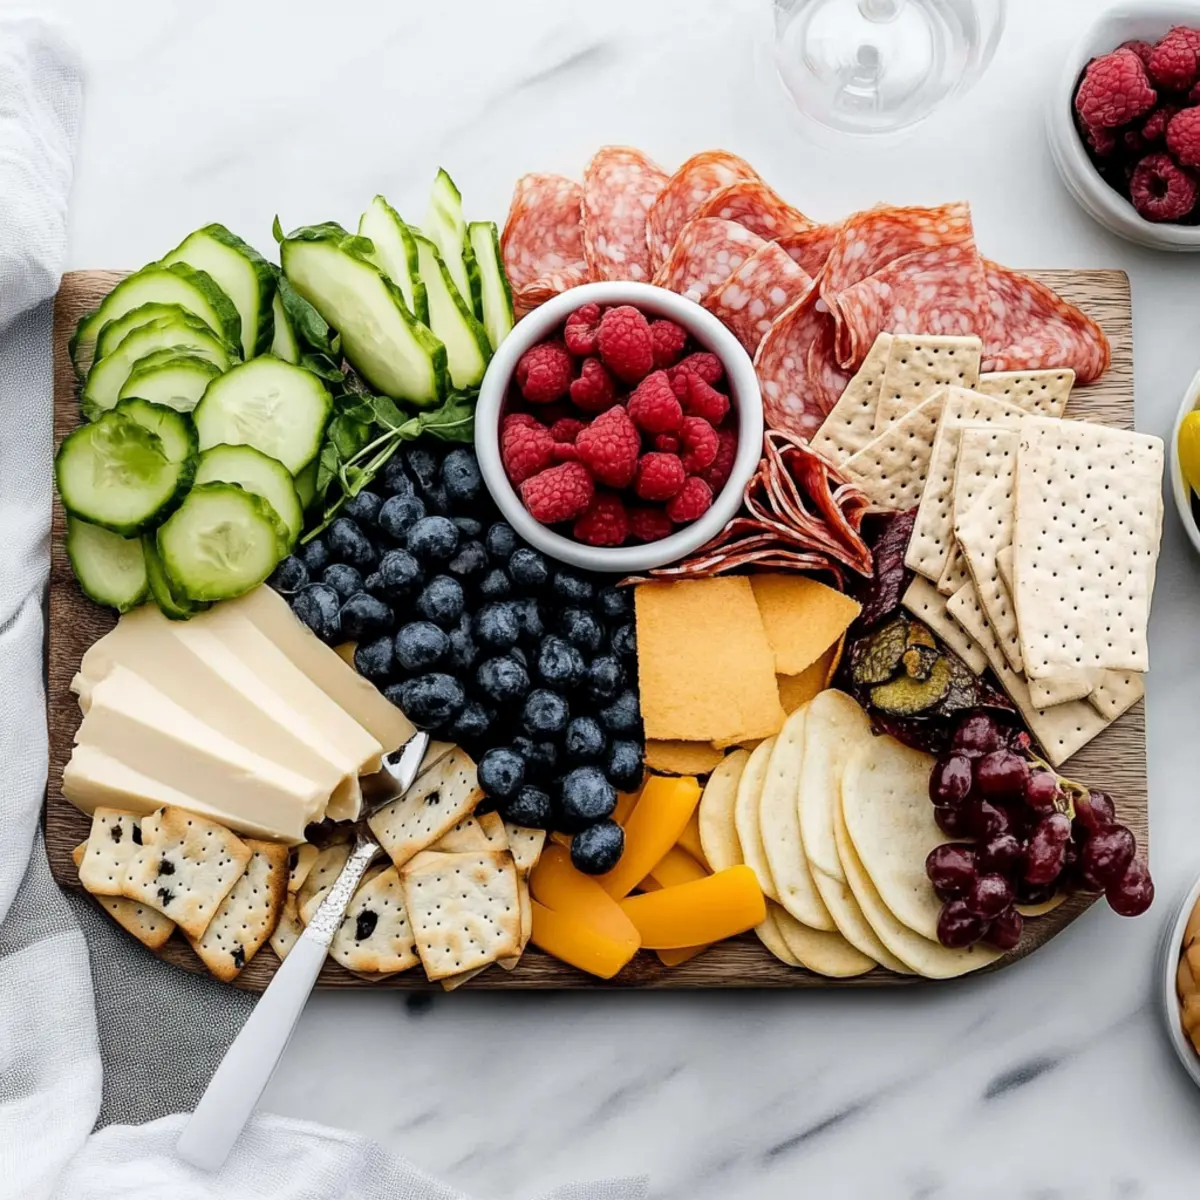
Quick Snack Board: Easy 10-Minute Simple Charcuterie Recipe
Ingredients
Equipment
Method
- Arrange all of your items on a cutting board, serving tray, or even in bowls or on plates on the table.


