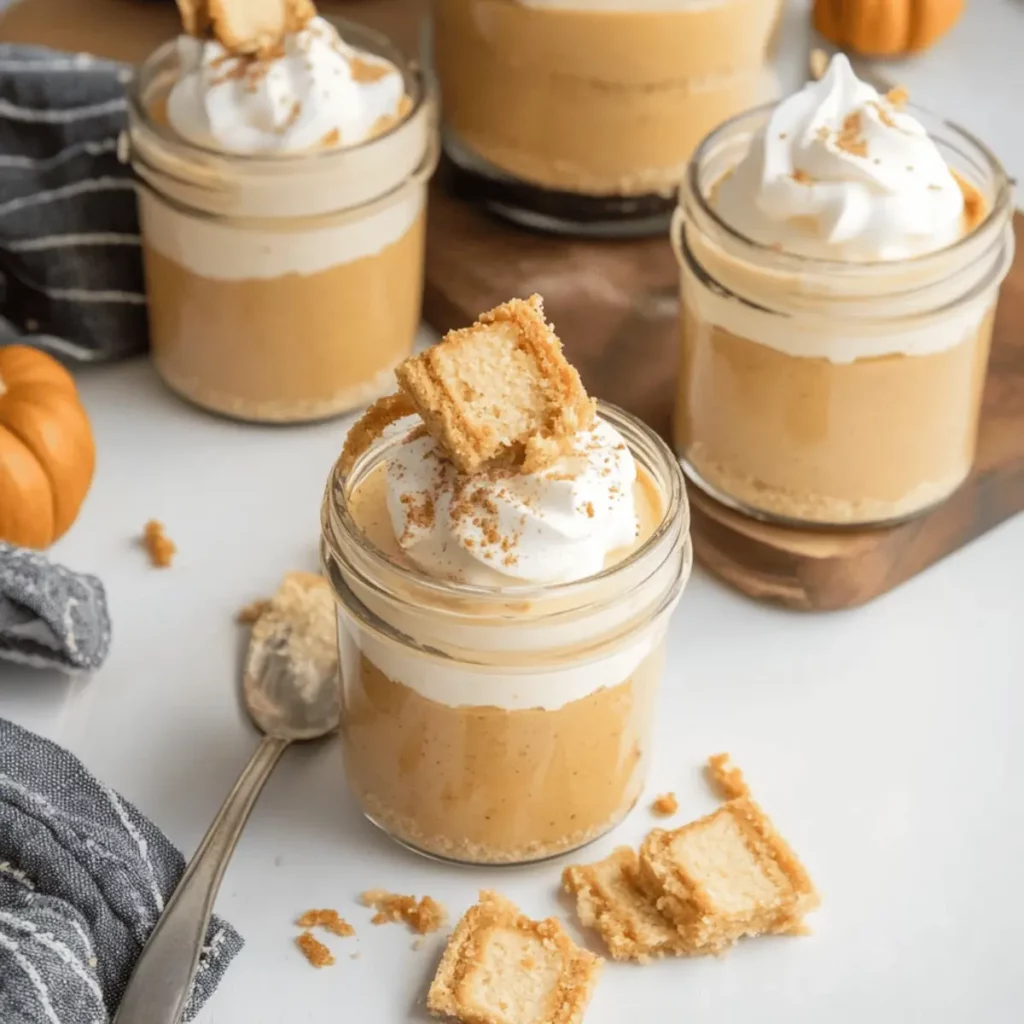
There’s a special magic in the air when fall rolls around—crisp leaves, cozy sweaters, and the mouthwatering scent of pumpkin-spiced everything wafting from kitchens everywhere. Imagine diving into a creamy No-Bake Pumpkin Cheesecake Jars, where silky cream cheese meets the warm hug of pumpkin and spices, all without the hassle of turning on your oven. It’s the perfect treat to whisk you into the heart of autumn!
Now, if you’re like me, you cherish that comforting dessert experience but don’t always have the luxury of time to mess around with complicated recipes. Enter this No-Bake Pumpkin Cheesecake Jars recipe: a simple, delightful dessert that screams fall celebration! Layers of pumpkin goodness promise a taste sensation that’s worthy of any occasion.
Why You'll Love This No-Bake Pumpkin Cheesecake Jars
- This incredible No-Bake Pumpkin Cheesecake Jars transforms simple everyday ingredients into restaurant-quality flavors that will blow your mind completely.
- Foolproof recipe techniques guarantee perfect results every single time, making even novice cooks feel like professional chefs instantly.
- Stunning visual appeal with gorgeous colors and mouthwatering aromas creates the ultimate Instagram-worthy dish for any special occasion.
- Endlessly adaptable for different dietary needs while working beautifully for meal prep, date nights, or entertaining large groups effortlessly.
Ingredients for No-Bake Pumpkin Cheesecake Jars
Here’s what you’ll need to make this delicious No-Bake Pumpkin Cheesecake Jars:
1 cup graham cracker crumbs – This will form the buttery crust that adds crunch and flavor to your jars.
4 tablespoons unsalted butter, melted – Bringing the graham cracker crumbs together, the melted butter ensures your crust holds shape.
1 package cream cheese, softened (8 oz.) – The creamy base of the cheesecake, providing that rich texture and flavor.
⅓ cup powdered sugar – A sweet element that balances the richer flavors and contributes to a smooth finish.
3 tablespoons brown sugar – Adds a hint of caramel flavor that deepens the pumpkin’s sweetness.
½ cup canned pumpkin puree – The star of the show, providing that unmistakable fall flavor in each bite.
1 teaspoon pumpkin pie spice – A delightful blend of spices that brings warmth and nostalgia to your dessert.
½ teaspoon ground cinnamon – Enhances the aroma and flavor profile, making it feel like fall in a jar.
½ teaspoon vanilla extract – A must for any cheesecake, it rounds out the flavor beautifully.
pinch of salt – Elevates the flavors and balances sweetness.
¾ cup thawed whipped topping – Adding lightness and fluff to the filling; you can use homemade if you prefer.
whipped cream (for garnish) – Because who doesn’t want an extra dollop of happiness on top?
graham cracker crumbs (for garnish) – A fun way to finish off those jars with extra crunch and charm.
How to Make No-Bake Pumpkin Cheesecake Jars
Follow these simple steps to prepare this delicious No-Bake Pumpkin Cheesecake Jars:
Step 1: Beat the Cream Cheese
In a large mixing bowl, take your softened cream cheese and beat it with a hand mixer until it’s smooth and heavenly, about one to two minutes. This is where your cheesecake dreams start to come alive.
Step 2: Add the Pumpkin and Sugars
Add in the canned pumpkin puree, both types of sugar, vanilla extract, and all those wonderful spices. Mix until you have a well-combined, velvety mixture that screams “fall is here!”
Step 3: Fold in the Whipped Topping
Gently fold in the thawed whipped topping to your cream cheese and pumpkin blend. This step adds airiness and lightness that will make these jars feel less like a cheesecake and more like a cloud of joy.
Step 4: Prepare the Crust
Crush the graham crackers using a rolling pin while they sit in a plastic food storage bag. Pour those finely crushed crumbs into a bowl and mix in your melted butter until they’re well combined and can hold their shape when pressed.
Step 5: Assemble the Jars
Spoon half of the graham cracker mixture into your 4-oz. mason jars. Then, on top of the crumbs, add a generous spoonful of the pumpkin cheesecake mixture. Use the back of the spoon to even it out. Repeat this layering process, ending with the cheesecake mixture.
Step 6: Chill and Serve
Cover the jars and place them in the fridge to chill until they’re set—about four hours should do the trick. When you’re ready to serve, top each jar with a dollop of whipped cream and a sprinkle of graham cracker crumbs or a hint of warm caramel sauce, should you desire extra decadence.
So there you have it! These No-Bake Pumpkin Cheesecake Jars are sure to become a seasonal favorite, bringing joy to your gatherings and sweet indulgence to your own life. Plus, they are as easy to make as they are irresistibly delicious. Dig in, and enjoy each creamy, spiced bite. Fall in love with every spoonful of these delightful jars!

This showstopping No-Bake Pumpkin Cheesecake Jars delivers restaurant-quality results using simple ingredients you probably already have at home. The perfect balance of textures and flavors creates an unforgettable dining experience that will have everyone asking for seconds. Picture-perfect presentation with vibrant colors makes this dish absolutely Instagram-worthy and guaranteed to impress any dinner guest. Incredibly versatile recipe that works beautifully for weeknight dinners, meal prep, special occasions, or even outdoor entertaining sessions.
Perfecting No-Bake Pumpkin Cheesecake Jars Cooking Process
To create a flawless No-Bake Pumpkin Cheesecake Jars, follow this sequence: start by preparing the crust before making the filling. Mix the cream cheese and pumpkin blend while your crust chills in the refrigerator. This method maximizes efficiency and enhances flavors.
Add Your Touch to No-Bake Pumpkin Cheesecake Jars
Feel free to customize your No-Bake Pumpkin Cheesecake Jars. Swap out the graham cracker crust for crushed Oreos or gluten-free cookies. Add a splash of bourbon for an adult twist, or fold in chopped nuts for texture.
Storing & Reheating No-Bake Pumpkin Cheesecake Jars
Store your No-Bake Pumpkin Cheesecake Jars in an airtight container in the refrigerator for up to five days. They do not require reheating, as the chilled dessert tastes best served cold.
Chef's Helpful Tips for No-Bake Pumpkin Cheesecake Jars
- This professional-quality No-Bake Pumpkin Cheesecake Jars relies on precise timing and temperature control to achieve restaurant-standard results consistently.
- Master the art of mise en place by prepping all ingredients beforehand, ensuring smooth execution and preventing any last-minute cooking disasters.
- The secret lies in layering flavors throughout the cooking process rather than seasoning only at the end for maximum depth.
- Pro tip: let the finished dish rest for optimal texture and flavor development before serving to hungry guests waiting eagerly.
Creating my No-Bake Pumpkin Cheesecake Jars for a family gathering blew everyone away. My aunt took one bite and exclaimed it was like autumn in a jar, making my heart swell with pride.

FAQs About No-Bake Pumpkin Cheesecake Jars
What is No-Bake Pumpkin Cheesecake Jars?
No-Bake Pumpkin Cheesecake Jars are delightful, easy-to-make desserts that showcase the delicious flavors of pumpkin and cream cheese without any baking required. Layered in individual jars, this dessert combines a rich cheesecake filling made from cream cheese, pumpkin puree, and warm spices with a buttery graham cracker crust. Perfect for fall gatherings, these jars offer a fun and portable way to enjoy a classic pumpkin cheesecake.
How long can I store No-Bake Pumpkin Cheesecake Jars?
You can store your No-Bake Pumpkin Cheesecake Jars in airtight containers in the refrigerator for up to five days. It’s best to enjoy them chilled, as they hold their creamy texture wonderfully when served cold. Just make sure to keep them sealed, so fresh flavors and textures are preserved, making every bite just as delightful as the first.
Can I customize my No-Bake Pumpkin Cheesecake Jars?
Absolutely! You can easily customize your No-Bake Pumpkin Cheesecake Jars to suit your taste preferences. Try substituting the graham cracker crust with crushed Oreos for a chocolatey twist, or add finely chopped nuts for extra crunch. A splash of bourbon can bring a delicious adult flair, and you can also experiment with different spices to create your own signature flavor profile.
What occasions are perfect for No-Bake Pumpkin Cheesecake Jars?
No-Bake Pumpkin Cheesecake Jars are perfect for a variety of occasions! Their charming presentation makes them ideal for fall family gatherings, holiday parties, birthdays, and even casual weeknight desserts. You can make them ahead of time for stress-free hosting, and they also work beautifully for picnics or potlucks, bringing a touch of seasonal sweetness wherever you go.
Conclusion for No-Bake Pumpkin Cheesecake Jars
In conclusion, No-Bake Pumpkin Cheesecake Jars offer a delightful dessert that simplifies indulgence. With layers of silky cheesecake filling, a crumbly graham cracker crust, and customizable options, this treat brings the flavors of fall to your table. You are sure to impress your friends and family with this easy-to-make dessert that requires no baking and stores beautifully in the fridge. Enjoy creating and sharing these charming jars at your next gathering!
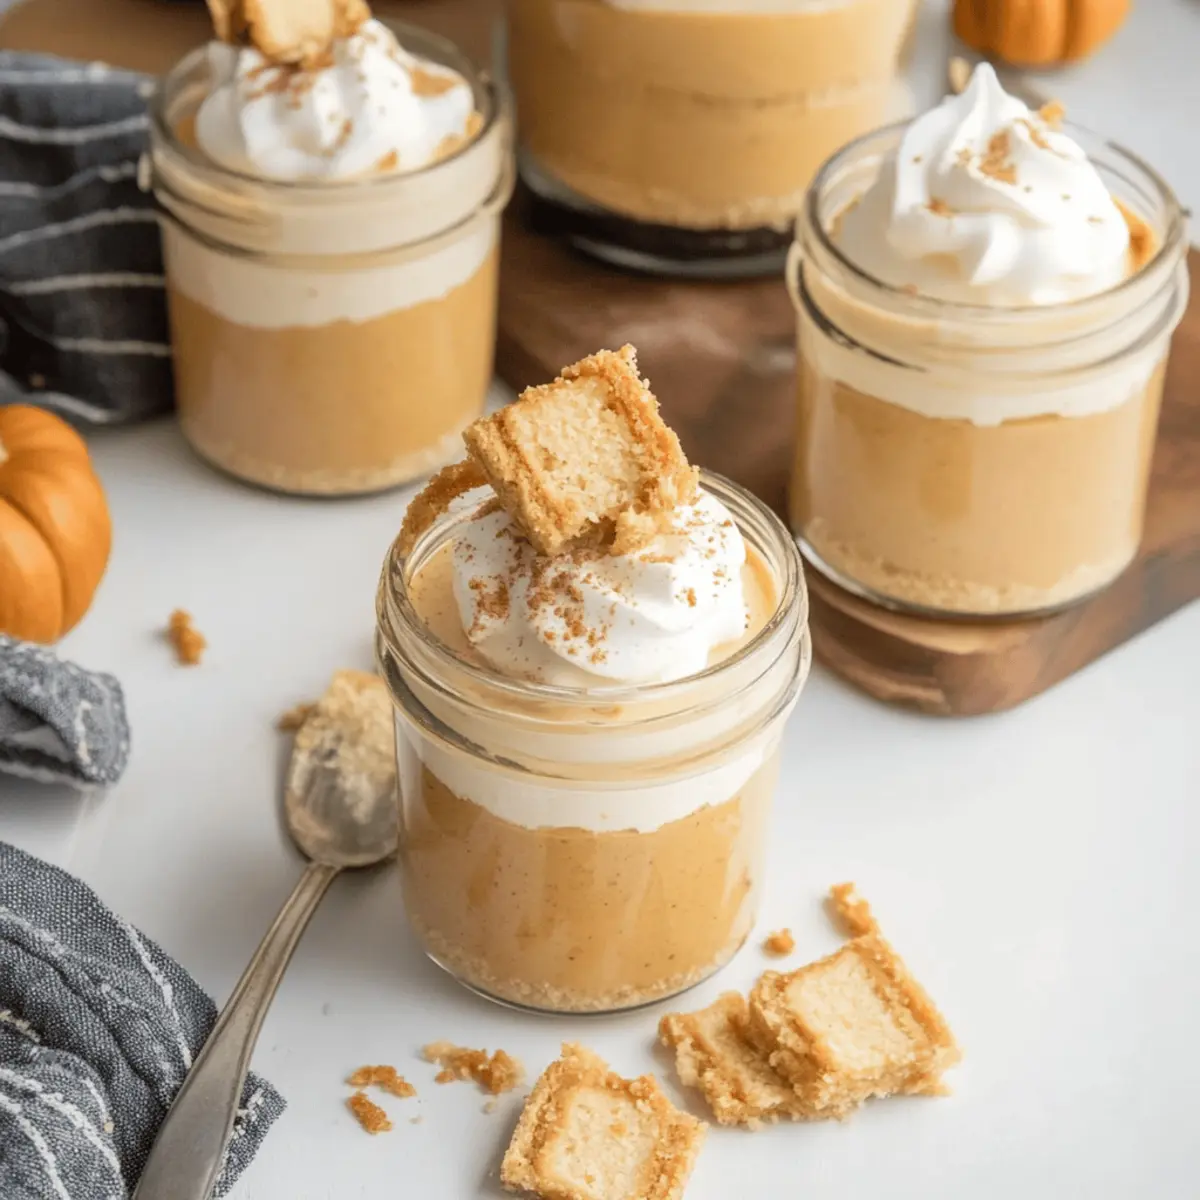
No-Bake Pumpkin Cheesecake Jars
Ingredients
Equipment
Method
- In a large mixing bowl, beat softened cream cheese with a hand mixer until smooth, about one to two minutes.
- Add the pumpkin puree, vanilla extract, powdered sugar, brown sugar, and all of the spices. Mix until well combined.
- Gently fold in ¾ cup of thawed whipped topping and set the mixture aside.
- Place the graham crackers in a plastic food storage bag and crush with a rolling pin until they are fine crumbs.
- Pour the crumbs into a clean mixing bowl and combine with melted butter using a fork.
- Spoon half of the graham cracker crust into eight 4-oz. mason jars.
- Fill each jar with one large spoonful of the no-bake pumpkin cheesecake mixture and use the back of a spoon to even out the filling. Repeat the layers.
- Place the jars in the fridge and chill until set (about four hours).
- To serve, top with a dollop of whipped cream and add more graham cracker crumbs, ground cinnamon, or warm caramel sauce if desired.


