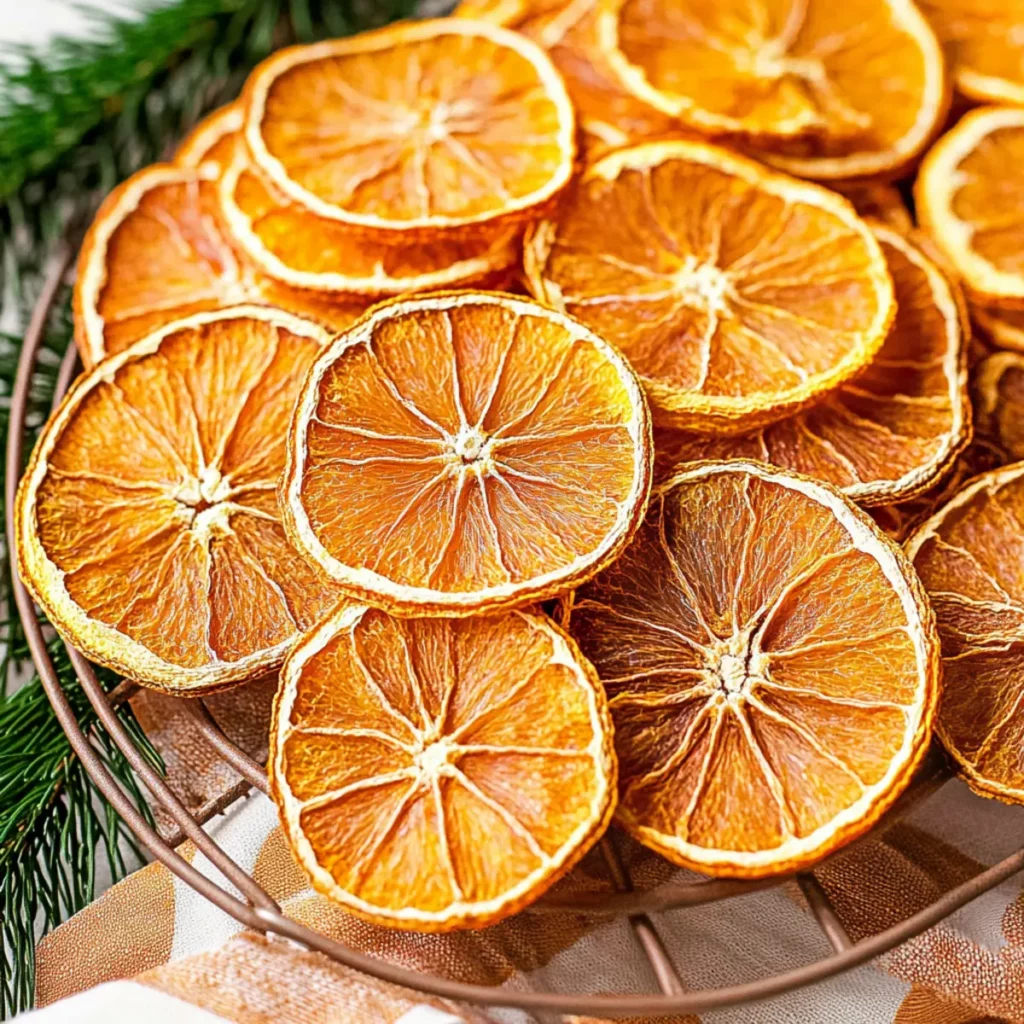
The sun-kissed aroma of fresh oranges fills the air, transporting you to sun-drenched orchards with every slice. There’s something undeniably joyful about DIY Dried Orange Slices. They are bursting with citrusy goodness, bringing a delightful sweetness and a hint of tartness to every nibble. This simple treat not only provides a vibrant pop of color to your pantry but also offers a delightful chewiness that can brighten any dull day.
Creating these circular gems is not just about the outcome; it’s an experience that fills your kitchen with warmth and inspires memories. Maybe you’ll remember sipping fresh orange juice on lazy summer mornings or giving your best friend a handmade gift that shows you truly care. Regardless of the occasion, DIY Dried Orange Slices become a delicious addition to your culinary repertoire, perfect for snacking, garnishing, or even gifting. The excitement builds as we promise a flavor experience that dances on your taste buds, so let’s jump in!
Why You'll Love This DIY Dried Orange Slices
- This incredible DIY Dried Orange Slices transforms simple everyday ingredients into restaurant-quality flavors that will blow your mind completely.
- Foolproof recipe techniques guarantee perfect results every single time, making even novice cooks feel like professional chefs instantly.
- Stunning visual appeal with gorgeous colors and mouthwatering aromas creates the ultimate Instagram-worthy dish for any special occasion.
- Endlessly adaptable for different dietary needs while working beautifully for meal prep, date nights, or entertaining large groups effortlessly.
Ingredients for DIY Dried Orange Slices
Here’s what you’ll need to make this delicious DIY Dried Orange Slices:
3 navel oranges – Choose firm, vibrant oranges, as they yield the juiciest and sweetest slices perfect for drying.
How to Make DIY Dried Orange Slices
Follow these simple steps to prepare this delicious DIY Dried Orange Slices:
Step 1: Preheat the Oven
Preheat your oven to 175°F (80°C) to ensure the perfect drying temperature for our sweet orange slices. A low and slow approach is essential for achieving that delightful chewy texture.
Step 2: Prepare Baking Sheets
Line two large baking sheets with parchment paper or silicone mats. Then, carefully place a wire rack on top of each baking sheet. These racks are your secret weapon, allowing air to circulate around the slices, aiding the drying process.
Step 3: Slice the Oranges
Using a sharp knife, slice the navel oranges into thin, even rounds about 1/4 inch thick. Remember to remove the ends where there’s more pith than fruit; we want those juicy, orange treasures!
Step 4: Remove Excess Juice
Lay the orange slices out between layers of paper towels. Lightly press to absorb as much juice as possible—this little step will help the slices dry faster and prevent them from becoming too sticky.
Step 5: Arrange and Bake
Arrange the dried orange slices on the wire racks in a single layer. Slide the racks into your preheated oven and bake for 1 hour. This is the magic moment when your kitchen fills with the sweet scent of oranges.
Step 6: Flip and Continue Baking
After the first hour, flip the slices to ensure even drying, and continue baking for another hour. Then, flip once more and bake for an additional hour for a total of 3 hours. Check the slices after this time; they should be dried but still pliable.
Once finished, you can transfer any fully dried slices to a plate and inspect the others. If any still look plump or sticky, flip them and return them to the oven for an additional 30 minutes. Repeat the checking process until every slice is perfectly dried and ready to enjoy. Transfer to plates, and voila—your DIY Dried Orange Slices are a reality!
Whether you snack on them straight from the plate or use them to elevate your dishes’ presentation, these slices are set to steal the show. Enjoy the vibrant flavors, share them with loved ones, or store them for a burst of sunshine in the middle of winter!

You Must Know About DIY Dried Orange Slices
- This showstopping DIY Dried Orange Slices delivers restaurant-quality results using simple ingredients you probably already have at home.
- The perfect balance of textures and flavors creates an unforgettable dining experience that will have everyone asking for seconds.
- Picture-perfect presentation with vibrant colors makes this dish absolutely Instagram-worthy and guaranteed to impress any dinner guest.
- Incredibly versatile recipe that works beautifully for weeknight dinners, meal prep, special occasions, or even outdoor entertaining sessions.
Perfecting DIY Dried Orange Slices Cooking Process
Begin by preheating your oven. Prepare your baking pans with parchment and racks. Slice those juicy oranges, absorb excess moisture, and arrange the slices before baking. Repeat flipping for even drying to achieve crispy perfection.
Add Your Touch to DIY Dried Orange Slices
Feel free to customize your DIY Dried Orange Slices by experimenting with spices like cinnamon or nutmeg. You can also add a sprinkle of sugar for sweetness or incorporate various citrus fruits for a medley of flavors.
Storing & Reheating DIY Dried Orange Slices
Store your dried orange slices in an airtight container to preserve their freshness and flavor. They make an excellent snack when eaten as is or can be reheated gently in the oven to restore some crispness.
Chef's Helpful Tips for DIY Dried Orange Slices
- This professional-quality DIY Dried Orange Slices relies on precise timing and temperature control to achieve restaurant-standard results consistently.
- Master the art of mise en place by prepping all ingredients beforehand, ensuring smooth execution and preventing any last-minute cooking disasters.
- The secret lies in layering flavors throughout the cooking process rather than seasoning only at the end for maximum depth.
- Pro tip: let the finished dish rest for optimal texture and flavor development before serving to hungry guests waiting eagerly.
Sharing my first experience making DIY Dried Orange Slices was a delight. Friends and family were amazed at how such a simple process could yield something so beautiful and tasty, leading to endless requests for more.

FAQs About DIY Dried Orange Slices
What is DIY Dried Orange Slices?
DIY Dried Orange Slices are an easy and delightful way to preserve the flavors of fresh navel oranges. This simple process involves slicing the oranges thinly, removing excess juice, and baking them at a low temperature until they are fully dried. The resulting slices are beautiful, aromatic, and can be used in various dishes or enjoyed as a healthy snack. They provide a burst of citrus flavor and can even be a lovely decoration for drinks or baked goods.
How do I make DIY Dried Orange Slices?
To make DIY Dried Orange Slices, start by preheating your oven to 175°F. Slice three navel oranges into thin pieces and remove the ends. Press the slices between paper towels to absorb excess moisture. Place the slices on wire racks set over baking sheets and bake for approximately three hours, flipping them occasionally for even drying. Once they are crisp and fully dried, let them cool before storing in an airtight container.
Can I flavor my DIY Dried Orange Slices?
Absolutely! While the natural sweetness of oranges is delightful on its own, you can easily enhance your DIY Dried Orange Slices by sprinkling a bit of cinnamon or nutmeg before baking. You might also consider adding a dusting of sugar or mixing in slices of other citrus fruits for a medley of flavors. Just remember to keep the balance so that the oranges remain the star of the show.
How should I store DIY Dried Orange Slices?
To keep your DIY Dried Orange Slices fresh and flavorful, store them in an airtight container in a cool, dry place. This will retain their crispness for a few weeks. If you notice any moisture inside the container, it’s best to bake the slices a bit longer to ensure they are completely dried. They are perfect for snacking or adding a pop of color and flavor to your favorite dishes!
Conclusion for DIY Dried Orange Slices
In summary, making DIY Dried Orange Slices is an enjoyable and rewarding process that enhances your cooking repertoire. With just a few simple steps, you can transform fresh oranges into delicious, vibrant snacks that have a host of uses, from culinary inspiration to aesthetic garnishes. Whether you choose to enjoy them as-is or experiment with flavors, these DIY Dried Orange Slices are sure to impress friends and family alike. So grab those navel oranges and get started on this delightful project today!
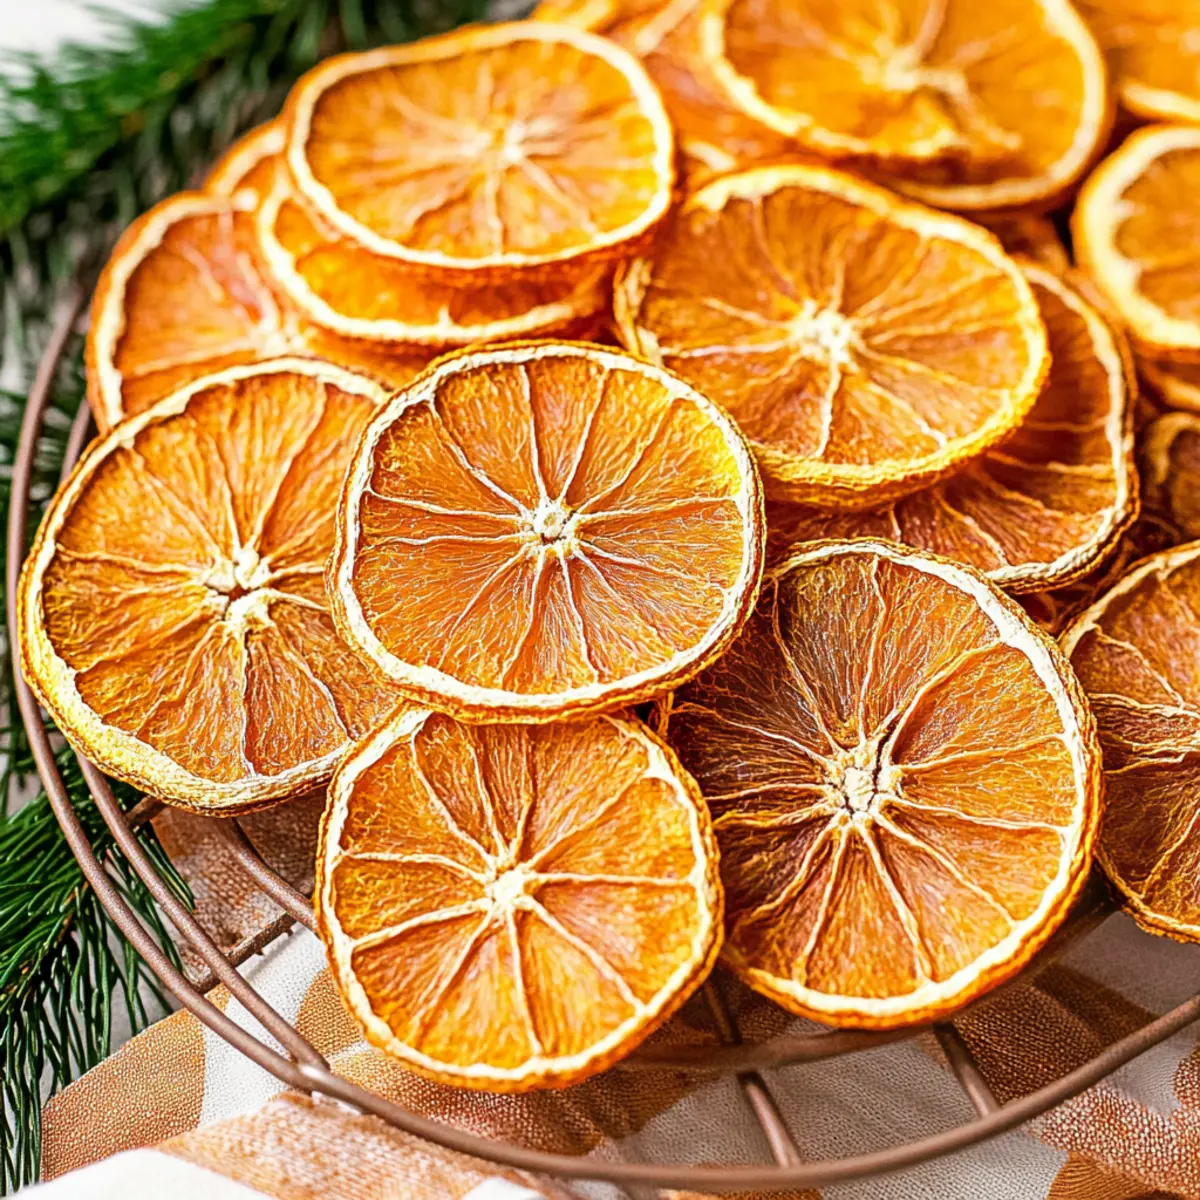
How to Make DIY Dried Orange Slices: Simple Oven Recipe
Ingredients
Equipment
Method
- Preheat the oven to 175°F.
- Line two large baking pans with parchment paper and place a wire rack on top of each pan.
- Slice the 3 navel oranges into thin slices, removing the ends where the slices are mostly pith.
- Lay the slices out between layers of paper towels and press to absorb as much juice as possible.
- Arrange the prepared orange slices on the wire racks and bake for 1 hour.
- Flip the slices and bake for 1 hour.
- Flip again and bake for 1 more hour for a total of 3 hours.
- Check the slices after 3 hours and transfer any that are fully dried to a plate.
- For any slices that still look plump or sticky, flip and return to the oven for 30 minutes.
- Check again, remove slices that are done, and bake the rest for another 30 minutes, repeating until all slices are fully dried.


