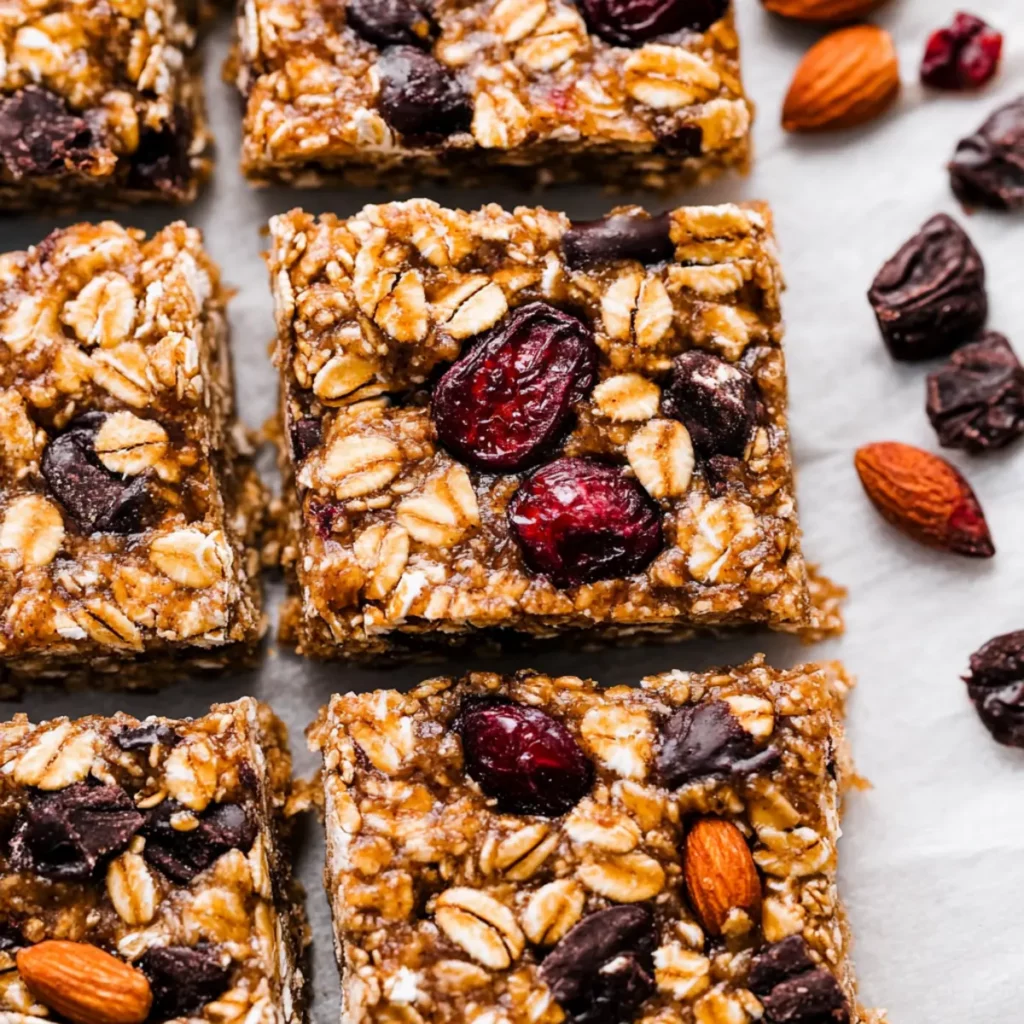
There’s something about the rich creaminess of peanut butter, the sweet kiss of honey, and a crunchy bite of oats that simply sparks joy. These No Bake Granola Bars have a deliciousness that will make you wonder why you ever reached for those store-bought snacks with their unpronounceable ingredients. Imagine having a quick and healthy snack on hand that you can whip up in just 20 minutes without ever turning on the oven. Sound too good to be true? Trust me, you won’t want to miss out on this delicious adventure in your kitchen.
As a kid, after school snacks were all about sweet treats while my adult self is desperately trying to find healthier alternatives. Enter these No Bake Granola Bars—an easy, economical delight that perfectly bridges the gap between my childhood cravings and my current aspirations for healthier living. With each hearty bite, I’m transported back to carefree afternoons, devouring snacks while debating the merits of the latest cartoon. Now, instead of sugary cereals, I can enjoy these bars filled with wholesome goodness sure to fuel any activity, whether it’s homework or powering through a Netflix binge.
Why You'll Love This No Bake Granola Bars
- This incredible No Bake Granola Bars transforms simple everyday ingredients into restaurant-quality flavors that will blow your mind completely.
- Foolproof recipe techniques guarantee perfect results every single time, making even novice cooks feel like professional chefs instantly.
- Stunning visual appeal with gorgeous colors and mouthwatering aromas creates the ultimate Instagram-worthy dish for any special occasion.
- Endlessly adaptable for different dietary needs while working beautifully for meal prep, date nights, or entertaining large groups effortlessly.
Ingredients for No Bake Granola Bars
Here’s what you’ll need to make this delicious No Bake Granola Bars:
¾ cup creamy peanut butter or almond butter – Provides a luscious texture and is packed with healthy fats. Feel free to substitute with your favorite nut butter for versatility.
½ cup honey or pure maple syrup – Sweetens the bars naturally and acts as a binding agent. Maple syrup is a vegan alternative that works just as well.
1 teaspoon vanilla extract – Adds warmth and depth to the flavor profile, enhancing the overall taste of the bars.
1 ½ cups quick oats or rolled oats – The base of the bars; quick oats yield a softer texture while rolled oats give a chewier bite.
¼ cup ground flaxseed – A fantastic source of fiber and omega-3 fatty acids; it thickens the mixture too.
¼ cup wheat germ or additional 2 tablespoons oats – Provides essential nutrients and a boost of natural flavors; wheat germ is optional if you want a more straightforward recipe.
¾ teaspoon ground cinnamon or 1 teaspoon pumpkin pie spice – Offers a fragrant spiciness that makes each bite comforting and warm; use pumpkin pie spice for an extra seasonal flair.
½ teaspoon kosher salt – Balances the sweetness and enhances all the flavors beautifully.
1 ¼ cups mix-ins of choice – Choose your favorites like dried cranberries, raisins, roughly chopped toasted nuts, chocolate chips, or sunflower seeds to customize your bars.
How to Make No Bake Granola Bars
Follow these simple steps to prepare this delicious No Bake Granola Bars:
Step 1: Prepare the Pan
Start by lining an 8×8 inch baking pan with parchment paper or wax paper, allowing two sides to overhang like trusty handles. This will make your life so much easier when it’s time to remove the bars.
Step 2: Make the Sticky Mixture
In a small saucepan over low heat, combine the peanut butter and honey. Whisk them together until the mixture is smooth and velvety. Remove from heat, stir in the vanilla extract, and let it cool for a few minutes so it doesn’t cook the oats.
Step 3: Mix Dry Ingredients
In a large mixing bowl, whisk together the oats, ground flaxseed, wheat germ, cinnamon, and salt. Ensure everything is well-combined to enjoy an even flavor throughout your bars.
Step 4: Combine Wet and Dry Ingredients
Pour the delightful peanut butter mixture over your dry ingredients. Here’s where the magic happens—stir until everything is well coated and the mixture feels sticky but manageable.
Step 5: Pack and Chill
Transfer the mixture into the prepared pan and press it down firmly. A good, solid press ensures the mixture binds together nicely. Refrigerate for one hour, allowing the bars to set perfectly.
Step 6: Cut and Enjoy
Using those handy paper handles, lift the bars out of the pan onto a cutting board. Now, slice them into the desired size, and voila! Your homemade No Bake Granola Bars are ready for munching.
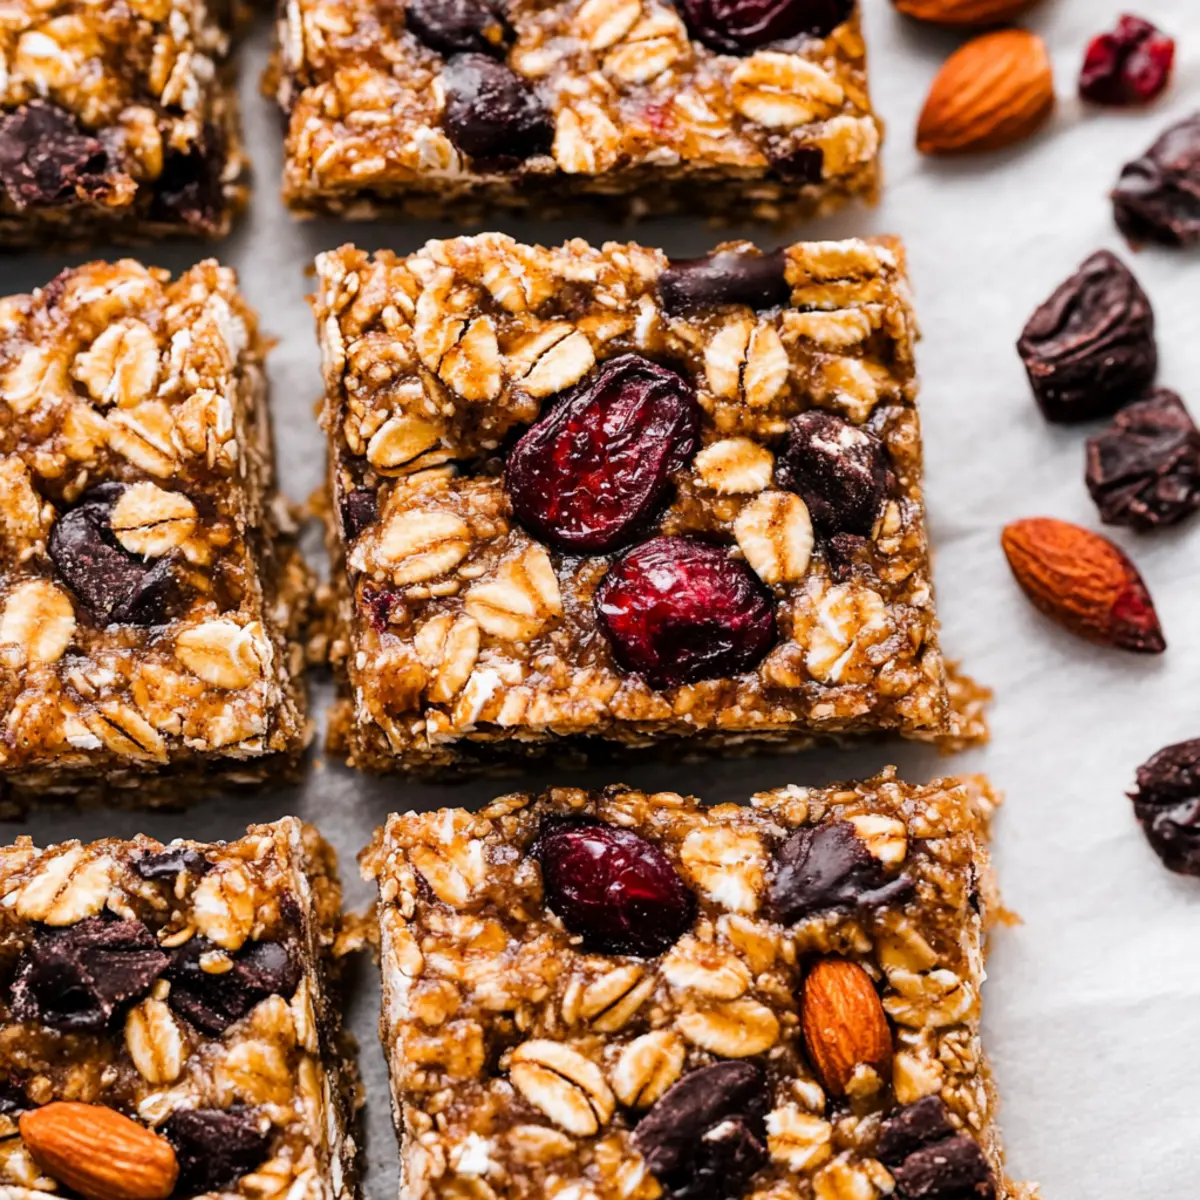
As you take that first bite, you’ll savor the soft chewiness of the oats and the delightful crunch from the mix-ins. Perfect for snacking on the go, these bars can even compete with your favorite chocolate bar’s addictive nature—it’s a win-win situation! Whether you stow them in the fridge or grab them on your way out the door, these No Bake Granola Bars are destined to become a staple in your snack rotation. Enjoy!

This showstopping No Bake Granola Bars delivers restaurant-quality results using simple ingredients you probably already have at home. The perfect balance of textures and flavors creates an unforgettable dining experience that will have everyone asking for seconds. Picture-perfect presentation with vibrant colors makes this dish absolutely Instagram-worthy and guaranteed to impress any dinner guest. Incredibly versatile recipe that works beautifully for weeknight dinners, meal prep, special occasions, or even outdoor entertaining sessions.
Perfecting No Bake Granola Bars Cooking Process
Start by preparing your baking pan with parchment paper for easy removal. Next, gently heat the peanut butter and honey to create a smooth mixture. While it’s cooling, combine your dry ingredients and mix in your chosen add-ins for the best flavors.
Add Your Touch to No Bake Granola Bars
Feel free to swap out peanut butter for almond butter or use different sweeteners like agave. You can also experiment with your favorite nuts and dried fruits. Add a sprinkle of sea salt to enhance the sweetness or some dark chocolate chips for a decadent twist.
Storing & Reheating No Bake Granola Bars
Store your No Bake Granola Bars in an airtight container in the fridge for up to a week for maximum freshness. If you’re feeling adventurous, try freezing them! They can be thawed easily at room temperature, maintaining their scrumptious taste.
Chef's Helpful Tips for No Bake Granola Bars
- This professional-quality No Bake Granola Bars relies on precise timing and temperature control to achieve restaurant-standard results consistently.
- Master the art of mise en place by prepping all ingredients beforehand, ensuring smooth execution and preventing any last-minute cooking disasters.
- The secret lies in layering flavors throughout the cooking process rather than seasoning only at the end for maximum depth.
- Pro tip: let the finished dish rest for optimal texture and flavor development before serving to hungry guests waiting eagerly.
I remember the first time I made No Bake Granola Bars for a potluck. Everyone was raving about them, and I realized I had accidentally created a new favorite snack!

FAQs About No Bake Granola Bars
What are No Bake Granola Bars?
No Bake Granola Bars are delicious, energy-packed snacks that require no oven or cooking. Made primarily with oats, nut butter, and sweeteners like honey or maple syrup, these bars are easy to prepare and customize. Perfect for a quick breakfast or a healthy snack on the go, they can be loaded with various mix-ins, such as nuts, seeds, or chocolate chips, making them a versatile treat that everyone will love.
How do I store No Bake Granola Bars?
To maximize freshness, store your No Bake Granola Bars in an airtight container in the refrigerator for up to one week. This helps maintain their chewy texture and flavor. If you want to prepare them further in advance, you can freeze the bars for longer storage. Just make sure to wrap them individually or layer them with parchment paper before freezing to prevent sticking.
Can I customize my No Bake Granola Bars?
Absolutely! One of the coolest aspects of No Bake Granola Bars is how versatile they are. You can easily swap the peanut butter for almond or sunbutter depending on dietary preferences. Experiment with different add-ins like dried fruits, nuts, seeds, or even shredded coconut to create a flavor profile that you love. Just remember to keep a good balance of dry and wet ingredients to maintain the right texture.
Are No Bake Granola Bars healthy?
Yes! No Bake Granola Bars can be a healthy snack option, especially when made with wholesome ingredients. They are rich in fiber, protein, and healthy fats, making them an excellent choice for sustained energy. Adjusting ingredients like using less honey or opting for dark chocolate chips can also improve their nutritional profile while keeping them deliciously satisfying.
Conclusion for No Bake Granola Bars
No Bake Granola Bars are a fantastic DIY snack that is both simple and delicious. With minimal ingredients and no cooking required, you can whip these up in no time. Not only can you customize them to fit your taste preferences, but they also offer a healthy alternative to store-bought snacks. Try making these No Bake Granola Bars for your next upcoming gathering or just for a quick grab-and-go treat. You’ll be glad you did!
No Bake Granola Bars
Ingredients
Equipment
Method
- Line an 8×8 inch baking pan with parchment paper or wax paper so that two sides overhang like handles.
- In a small saucepan, heat the peanut butter and honey, whisking until smooth. Remove from the heat and stir in the vanilla. Let cool for several minutes.
- In a large mixing bowl, whisk the oats, flaxseed, wheat germ, cinnamon, and salt. Roughly chop any mix-ins that are larger than a chickpea and stir into the oat mixture.
- Pour the peanut butter mixture over the dry ingredients. Stir to combine until the mixture feels somewhat sticky.
- Press the mixture firmly into the pan to help the bars stick together. Refrigerate for 1 hour to allow the bars to set.
- Using the paper handles, lift the bars out of the pan onto a cutting board and slice into bars of desired size.


