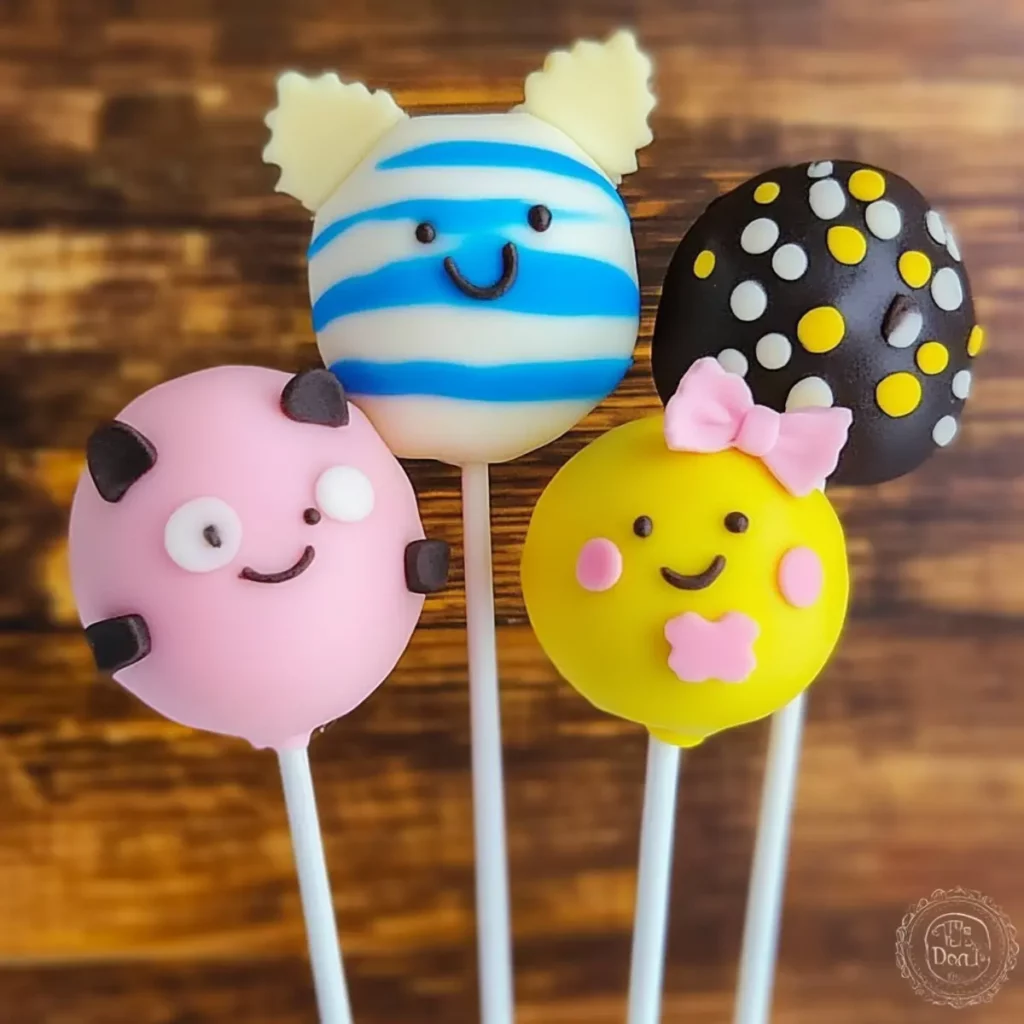
The world of desserts is a swirling vortex of sweetness, but few delights capture the playful joy of baking like Character Cake Pops. These bite-sized treats combine a deliciously moist cake with creamy frosting, all elegantly dipped in vibrant candy melts. Picture the joyful faces of children and adults alike as they take a bite and discover a world of flavors crafted just for them. Character Cake Pops are not only a treat for your taste buds; they also transform any event into a celebration of creativity and fun.
Imagine a birthday party where kids line up to pick their favorite character-themed pops. Each pop could represent a beloved superhero or cartoon character, turning an ordinary day into an unforgettable experience. Trust me, your kitchen will become the hub of laughter and joy as you whip up these delightful creations. By the end of your baking adventure, the feeling of satisfaction will be as sweet as the cake pops themselves.
Why You'll Love This Character Cake Pops
- This incredible Character Cake Pops transforms simple everyday ingredients into restaurant-quality flavors that will blow your mind completely.
- Foolproof recipe techniques guarantee perfect results every single time, making even novice cooks feel like professional chefs instantly.
- Stunning visual appeal with gorgeous colors and mouthwatering aromas creates the ultimate Instagram-worthy dish for any special occasion.
- Endlessly adaptable for different dietary needs while working beautifully for meal prep, date nights, or entertaining large groups effortlessly.
Ingredients for Character Cake Pops
Here’s what you’ll need to make this delicious Character Cake Pops:
1 and 2/3 cups all-purpose flour – This forms the base of your cake and provides a fluffy texture. Opt for high-quality flour for the best results.
1/2 teaspoon baking powder – This helps the cake rise, giving your pops a light and airy feel. Make sure it’s fresh for maximum effectiveness.
1/4 teaspoon baking soda – Adds extra lift and tenderness; don’t skip this if you want those pops to be perfectly fluffy.
1/2 teaspoon salt – Enhances the flavors and balances the sweetness of your cake.
1/2 cup unsalted butter – Brings richness and moisture to your cake; ensure it’s softened to room temperature for easy mixing.
1 cup granulated sugar – Sweetens the cake and contributes to a golden, crisp outer layer.
1 large egg – Binds the ingredients and adds structure to your batter.
2 teaspoons pure vanilla extract – Infuses the cake with a wonderful aroma and flavor, making each bite delightful.
1 cup whole milk – Adds moisture and richness to your cake. For a creamier texture, opt for whole milk.
7 Tablespoons unsalted butter – Used for the frosting; softening allows for easy mixing.
1 and 3/4 cups confectioners’ sugar – The backbone of your frosting, adding sweetness and a creamy texture.
2-3 teaspoons heavy cream or whole milk – Adjusts the consistency of the frosting to your preference.
1 teaspoon pure vanilla extract – Adds depth to the frosting flavor.
24 ounces candy melts or white chocolate bars – The outer layer that wraps your cake pops in colorful sweetness. Choose the colors that match your theme.
Sprinkles – These add texture and fun, making your character pops even more visually appealing. Pick a variety that complements your designs.
How to Make Character Cake Pops
Follow these simple steps to prepare this delicious Character Cake Pops:
Step 1: Preheat the Oven
Preheat your oven to 350°F (177°C). Grease a 9-inch springform pan generously to ensure your cake pops slide out easily once baked.
Step 2: Prepare the Dry Ingredients
In a medium bowl, whisk together the flour, baking powder, baking soda, and salt. This mix will create a delightful rise in your cake, so make sure everything is well combined.
Step 3: Cream the Butter and Sugar
In a large bowl, beat the softened butter and granulated sugar together for about 3 minutes or until light and fluffy. Add the egg and vanilla extract, then continue to beat on high speed until smooth and creamy.
Step 4: Combine Wet and Dry Ingredients
Gradually add the dry ingredients to your creamed mixture along with the whole milk. Mix on low speed until just combined, being careful not to overwork your batter. Use a spatula to scrape down the sides and ensure there are no lumps.
Step 5: Bake the Cake
Spread the batter evenly in the prepared pan, and bake for 30–36 minutes. Insert a toothpick into the center; if it comes out clean, your cake is ready. Once baked, let it cool completely in the pan on a wire rack.
Step 6: Make the Frosting and Assemble
In a bowl, beat the softened butter until creamy. Gradually add the confectioners’ sugar, heavy cream, and vanilla, mixing until light and fluffy. Crumble your cooled cake into the frosting and mix until combined. Scoop about 1 tablespoon of the cake mixture and roll it into a ball. Place the balls on a lined baking sheet. Refrigerate for 2 hours or freeze for 1 hour to set.
Assemble these delightful Character Cake Pops, and allow your creativity to run wild with toppings and designs! These are perfect for birthday parties, school events, or just a fun weekend project with the family. Transfer to plates and get ready to celebrate with these vibrant and fun treats!

This showstopping Character Cake Pops delivers restaurant-quality results using simple ingredients you probably already have at home. The perfect balance of textures and flavors creates an unforgettable dining experience that will have everyone asking for seconds. Picture-perfect presentation with vibrant colors makes this dish absolutely Instagram-worthy and guaranteed to impress any dinner guest. Incredibly versatile recipe that works beautifully for weeknight dinners, meal prep, special occasions, or even outdoor entertaining sessions.
Perfecting Character Cake Pops Cooking Process
Begin by baking your cake first. Once it cools, whip up your frosting while you prep for shaping the cake pops. Keeping everything organized helps streamline the process for flawless results.
Add Your Touch to Character Cake Pops
Feel free to customize your cake pops by using different flavored cake mixes or alterations to the frosting, such as adding peanut butter or crushed cookies. You can also experiment with various toppings and sprinkles for a more unique flair.
Storing & Reheating Character Cake Pops
Store your cake pops in an airtight container in the refrigerator for up to one week. If you need them to last longer, consider freezing them for about a month. Just remember to let them thaw before serving.
Chef's Helpful Tips for Character Cake Pops
- This professional-quality Character Cake Pops relies on precise timing and temperature control to achieve restaurant-standard results consistently.
- Master the art of mise en place by prepping all ingredients beforehand, ensuring smooth execution and preventing any last-minute cooking disasters.
- The secret lies in layering flavors throughout the cooking process rather than seasoning only at the end for maximum depth.
- Pro tip: let the finished dish rest for optimal texture and flavor development before serving to hungry guests waiting eagerly.
I remember the first time I made Character Cake Pops; my kids erupted with excitement, and their joy as they dipped them in chocolate was priceless. Seeing their faces light up made all the effort worthwhile.

FAQs About Character Cake Pops
What are Character Cake Pops?
Character Cake Pops are delicious bite-sized treats that combine the fun of cake and the creative flair of character design. Imagine moist cake crumbled and mixed with creamy frosting, then rolled into adorable shapes that reflect your favorite characters. These cake pops are coated in vibrant candy melts or chocolate and adorned with sprinkles or other decorative elements, making them perfect for parties, celebrations, or just a fun treat at home.
How do you make Character Cake Pops?
Making Character Cake Pops involves a few key steps. Start by baking a cake and allowing it to cool completely. Afterward, crumble the cake and mix it with frosting until fully incorporated. Roll the mixture into small balls and refrigerate to firm up. Once set, dip them in melted chocolate or candy melts and decorate as desired. Let the pops set before serving, and watch as everyone enjoys them with delight.
Can I customize my Character Cake Pops?
Absolutely! One of the best aspects of Character Cake Pops is their versatility. You can choose different cake flavors, such as chocolate, vanilla, or red velvet, and experiment with various frosting types. Additionally, feel free to use unique toppings ranging from colored sprinkles to edible glitter or even themed decorations that represent specific characters. Tailoring your cake pops to fit a theme can make them even more special!
How should I store my Character Cake Pops?
To keep your Character Cake Pops fresh, store them in an airtight container in the refrigerator for up to a week. If you wish to extend their shelf life, consider freezing them for about a month. Just remember to let the pops thaw in the fridge for a few hours before serving. Proper storage ensures they remain delicious and visually appealing when it’s time to enjoy them.
Conclusion for Character Cake Pops
Creating Character Cake Pops is not only a fun cooking adventure but also a fantastic way to bring smiles to faces young and old. With easy-to-follow steps and endless customization options, these delightful treats can become a regular feature at your celebrations. Remember, the joy and creativity in making Character Cake Pops are just as important as the final result, so gather your loved ones and let the fun begin!
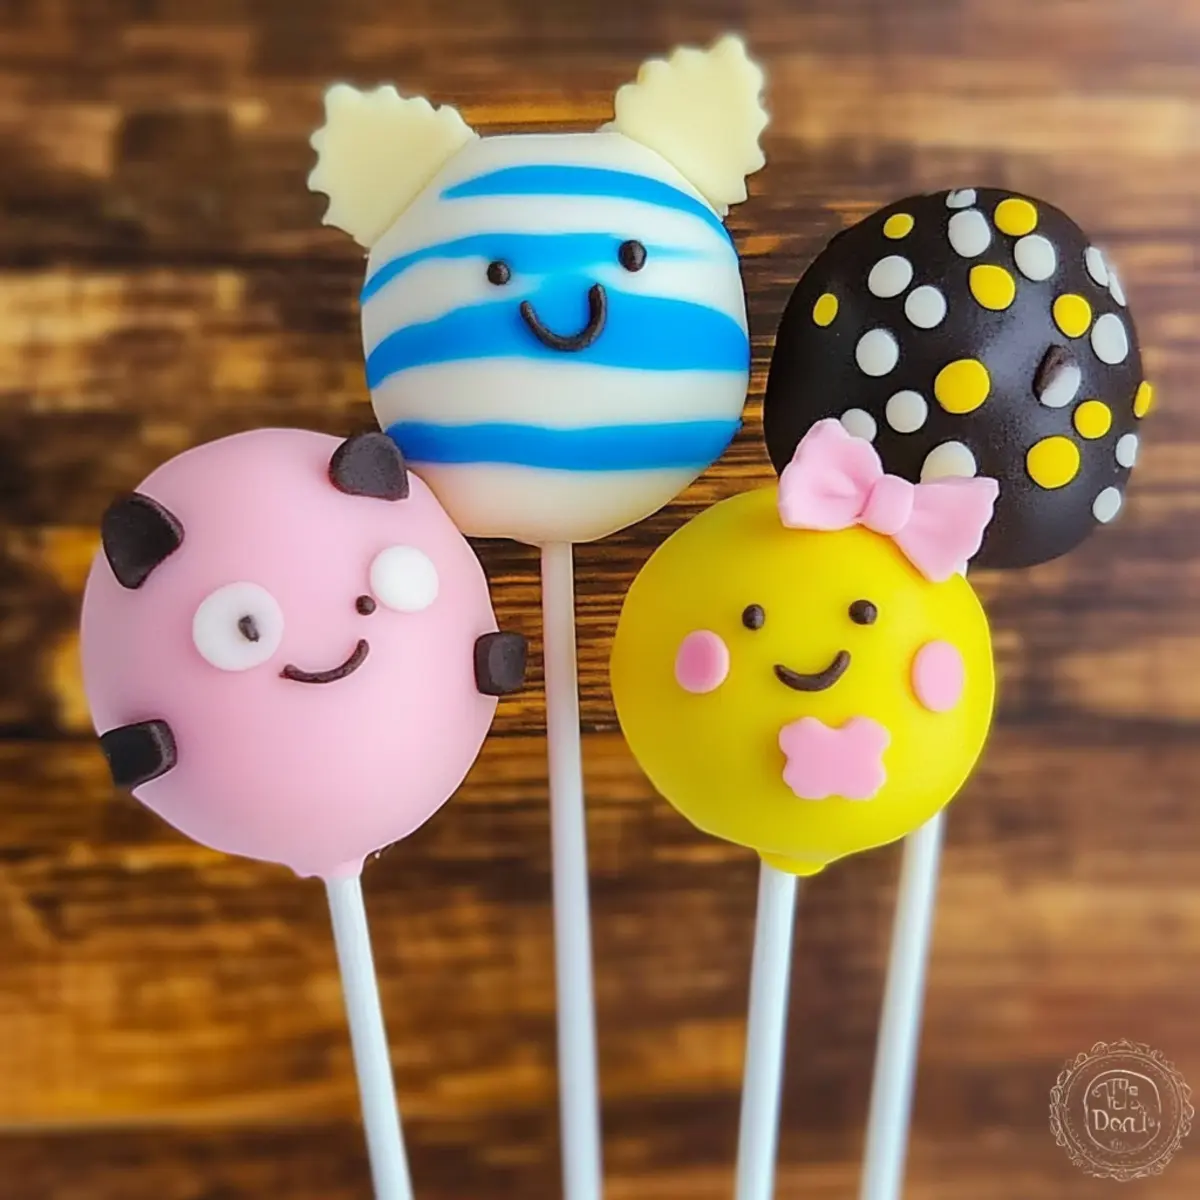
Delicious Character Cake Pops Recipe for Fun Celebrations
Ingredients
Equipment
Method
- Preheat oven to 350°F (177°C). Grease a 9-inch springform pan.
- In a medium bowl, whisk together flour, baking powder, baking soda, and salt. Set aside.
- In a large bowl, beat the softened butter and granulated sugar together until creamed, about 3 minutes. Add the egg and vanilla extract and beat on high speed until combined.
- Add the dry ingredients and milk to the wet ingredients and mix on low speed until combined. Stir with a spatula to ensure there are no large lumps.
- Pour and spread the batter evenly into the prepared pan. Bake for 30–36 minutes, or until a toothpick inserted in the center comes out clean. Tent with aluminum foil if browning too quickly.
- Allow the cake to cool completely in the pan on a wire rack.
- To make the frosting, beat the softened butter on medium speed until creamy, about 2 minutes. Add confectioners’ sugar, heavy cream, and vanilla extract and mix on low speed. Increase to high speed and beat for 3 minutes.
- Crumble the cooled cake into the bowl with the frosting. Mix on low speed until combined, ensuring there are no large lumps.
- Scoop 1 Tablespoon (about 20g) of the cake/frosting mixture and roll it into a ball. Place the balls on a lined baking sheet. Refrigerate for 2 hours or freeze for 1 hour to set the shape. Re-roll the chilled balls if needed.
- Melt the chocolate or candy melts in a measuring cup in the microwave in 20-second increments, stirring until melted and smooth.
- Coat the cake balls: Remove a few from the refrigerator. Dip the end of a lollipop stick into the coating, then insert it into the center of a cake ball. Dip the cake ball into the coating until completely covered, tapping to remove excess. Decorate the top with sprinkles.
- Place the coated cake pops upright in a styrofoam block or box. Repeat with remaining cake balls.
- Allow coating to set within an hour. Store cake pops in the refrigerator for up to 1 week.


